Every Picture Has A Story
Here are a few of mine...
Picnic Table Project
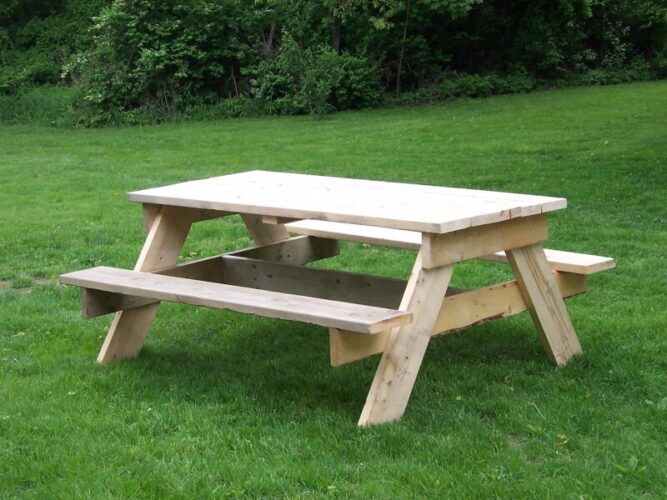
The picnic table is the very first item I actually made out of wood. My husband helped me with it, but the labor of cutting and assembling was mostly mine. I love everything about wood: the smell of freshly cut wood, the smell of the polyurethane and stain, the sanding, using a...
The Lord Is My Shepherd
I had been scroll sawing for about a year when one of my sisters called. This particular sister and I spoke quite regularly about life in general. She knew I had been scrolling for awhile and this particular phone call was to ask if I could scroll something specific. Not considering myself...
Glossy vs Satin
I had always liked how a gloss finish on the wood looks so very smooth. That was when I was young and not actually working the wood. Now that I have been working with wood and have had some excellent advice from one of my brothers, I found my attitude towards finishes...
Electric Tea Light
In my gallery, there are a few pictures of tea light stands. The patterns of the Three Crosses, the two Doves, and The Hummingbird are not my own. The butterfly, however, is. I traced a picture out of a picture book, but the electric cord was my idea. Here is the story...
Getting Creative with the Grain
I have mentioned on several occasions how much I love working with wood. As I became familiar with the tools I was being introduced to, I was more eager to work a new skill into my hobby. It took about three different projects under my belt before I felt ready to tackle...
3D Scrolling
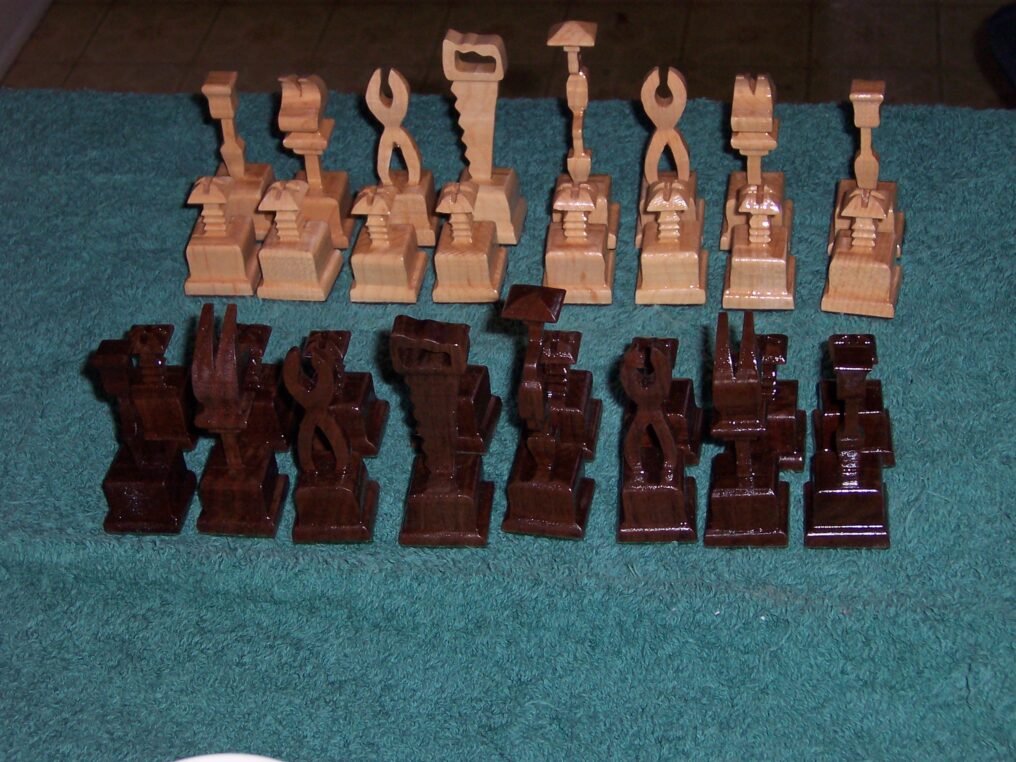
I have had many compliments over the years from people who have seen the 3D scrolled Chess set pictures. The wood I used for the two sides was cherry, light-colored wood. And walnut for the dark-colored wood. Most of those compliments were also surprised when the people found that I did not...
Picnic Table Project
Categories: Woodworking
The picnic table is the very first item I actually made out of wood. My husband helped me with it, but the labor of cutting and assembling was mostly mine. I love everything about wood: the smell of freshly cut wood, the smell of the polyurethane and stain, the sanding, using a finer grit for each step until its baby smooth. The table was not finished to that kind of fineness, but as I continued on, I brought other tools into play.
The Lord Is My Shepherd
Categories: Woodworking
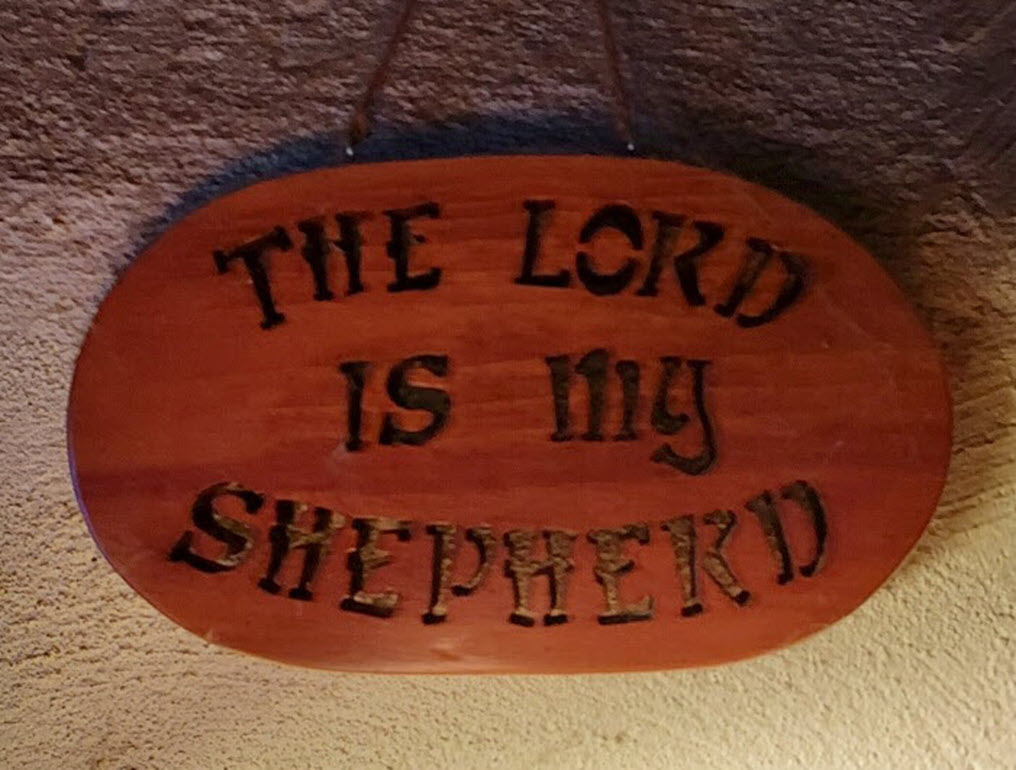
I had been scroll sawing for about a year when one of my sisters called. This particular sister and I spoke quite regularly about life in general. She knew I had been scrolling for awhile and this particular phone call was to ask if I could scroll something specific.
Not considering myself quite experienced to just say yes, I told her it depended on what it was. When she said that she wanted a plaque that simply read, “The Lord Is My Shepherd”, I asked a few particular questions like what kind of wood, what shape and if she wanted anything else on it.
We spent a little time discussing the particulars, and she concluded the conversation with making sure I knew it was no hurry, and just cut it when I had some time.
One thing led to another with projects that came up, birthdays, or just random gifts. Before I knew it a little over 4 months had gone by. After realizing that I still had not started this project, I gave her a call to let her know. I felt a little guilty mainly because this particular sister very rarely asks me for anything. She told me no apologies were needed, she knew I had been busy. She was wondering though if I could start it. I promised her I would.
After making the pattern for the wood on paper, I took a picture of it and texted my sister for approval. From that moment on, while she was not exactly pushing me, she would call to ask on the progress. This went on for about a month. The scrolling of the piece along with the sanding and finishing of the wood can be time consuming. With working a fulltime job, what might take only a few days, sometimes could take a whole month. Each time my sister would ask about the progress, I asked her if she had a deadline date she needed this by. Each time she answered no.
About a week after I delivered her the plaque she called me. I could hear by her tone that she was excited to tell me something. Her first question to me was how did I know to have this plaque done on the date that I did? I wasn’t quite sure what she meant. Then she explained why she had asked me.
She told me that our aunt had a neighbor one door down in her apartment complex that was one of the nicest and most courteous gentlemen in the complex. At Christmastime, the apartment complex had a contest of who had the best door sign or plaque. My sister noticed that the neighbor did not have one. She asked if he was planning to join the contest. His answer was a simple and friendly no. My sister had decided that she would like to give him something to hang on his door, not necessarily for the contest, but just as a nice gesture. That was when she first contacted me with the request for the “Lord Is My Shepherd” plaque. There was no hurry, because she didn’t want to give it to him at the time the contest was happening. She chose the words “The Lord is My Shepherd” because it happens to be her favorite line from the Bible.
As she is continuing her story, she is starting to sound very excited. She then said that she had no idea why she started to gently prod me to finish the plaque, but wait until I heard the rest of the story! The Saturday of the week I gave her the finished plaque, she knocked on this gentleman’s door. When there was no answer, she simply left the plaque on his; “Welcome Mat”.
She and my aunt received a note from him not long after. He first told them how deeply he was touched by their incredible thoughtfulness in giving him this plaque. Then, he went on to explain how the timing of receiving it was definitely God ordained. His wife had passed away two years to the day that my sister left him the plaque on his doorstep, and “The Lord Is My Shepherd” is inscribed on her tombstone.
By this time I am smiling and my heart is bursting with happiness. While my sister is still confused as to how I knew when to get this to her, I realize she has absolutely no clue what has happened here.
I asked her if she knew what I meant when I would use the words “This is a God Story” when I wanted to tell her how God had used me to touch a life. She said she knew, so what? I laughed out loud. Well let me ask you how you feel now that you have experienced firsthand what it is like to be the main character in this particular God Story!?
Glossy vs Satin
Categories: Woodworking
I had always liked how a gloss finish on the wood looks so very smooth. That was when I was young and not actually working the wood.
Now that I have been working with wood and have had some excellent advice from one of my brothers, I found my attitude towards finishes has changed a great deal.
While visiting one of my brothers, one day, we started talking about wood and the different types of clear finishes. I explained my preference to him and why. He smiled and said that he thought the same in the beginning stages of his journey with wood. Then, he said something that made so much sense I couldn’t believe I had never thought of it. I had always thought that what made the wood so very smooth was the polyurethane that sealed the grain.
Before he started to explain, he asked me to go up to his second-floor landing and look at the wood floor. I went up and remarked what a beautiful floor it was. My brother was considered a Master Craftsman at this time. I knew without asking he had installed the floorboards himself. The landing on the second floor had two, floor to ceiling windows. The sun was shining that day, and what a beautiful scene it created. When I went back downstairs, he asked me how the grain had looked on the flooring. I was awed at how the flooring was smooth, and the grain was defined. He smiled and told me that the finish on the floor was a satin finish. He then said to me that most people would put satin as a finish for the apparent reason that the floor wouldn’t be too slippery. His reasoning was more for the grain of the wood.
When the sun hits any wood with gloss or semi-gloss for a sealer, the sun will reflect off of it, and just like a camera flash in a window, it will hide what is behind the reflected light. WOW! I had never thought of that. When I asked about the roughness of the wood, he said, “Sandpaper takes care of that.” He did agree with me that there are times where the grain of the wood is not the focal point, and then gloss or semi-gloss is an excellent choice. Things like jewelry, small pieces like napkin holders, or handles of any kind. Those you would want a thicker sealer due to everyday handling.
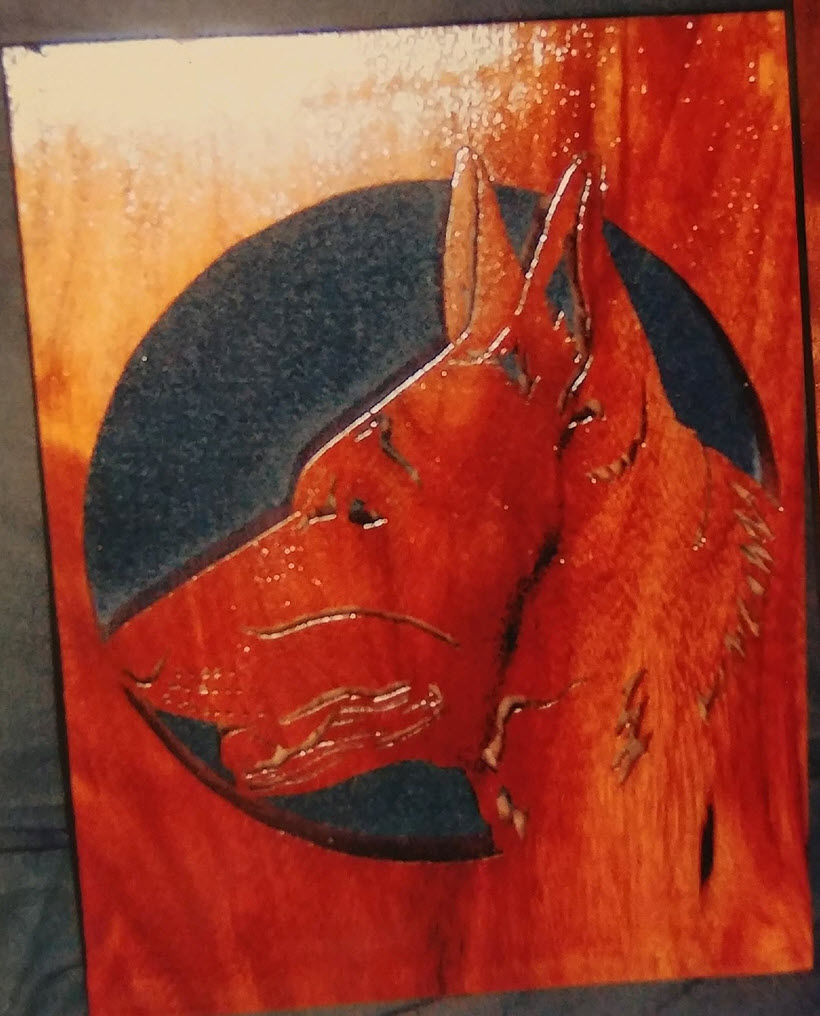
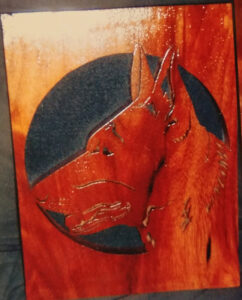
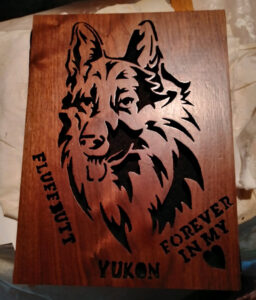
Here I have a couple of projects I scrolled. As you can see, the German Shepherd with the side profile, the light bounces off of the wood, and you are losing a lot of character and movement this wood has.
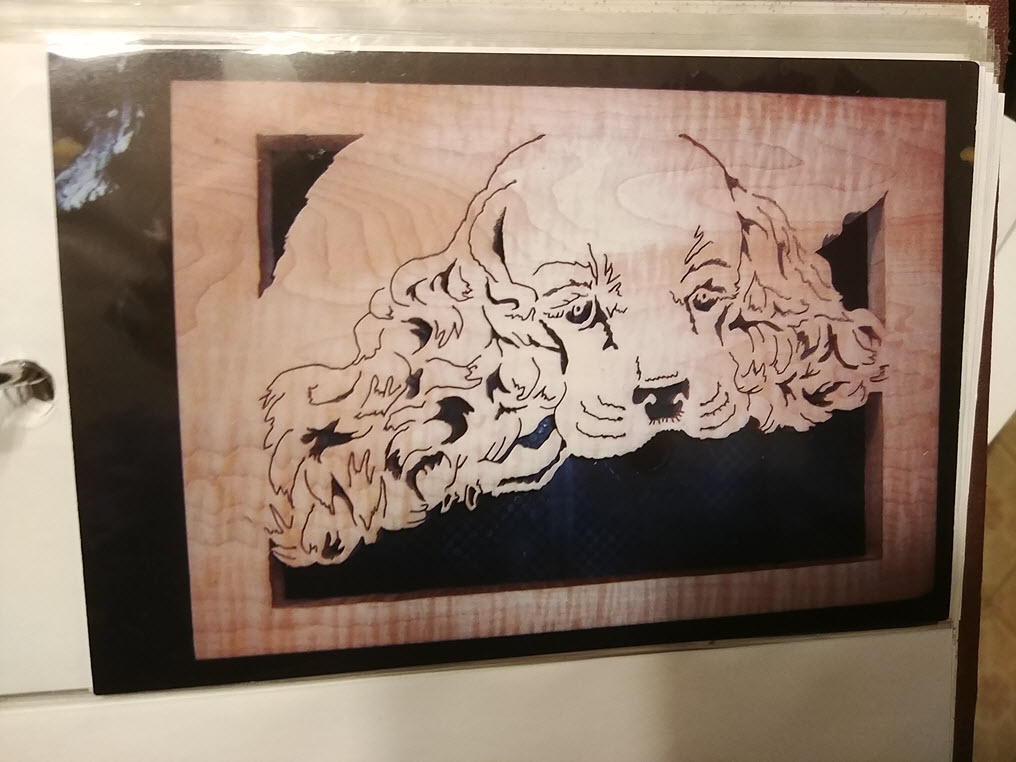
For the long hair German Shepherd, I used a satin finish. While this wood has a nice grain, it is nowhere near as lively grain that the first piece has. I only wish I knew this before I had finished the first piece.
Electric Tea Light
Categories: Woodworking
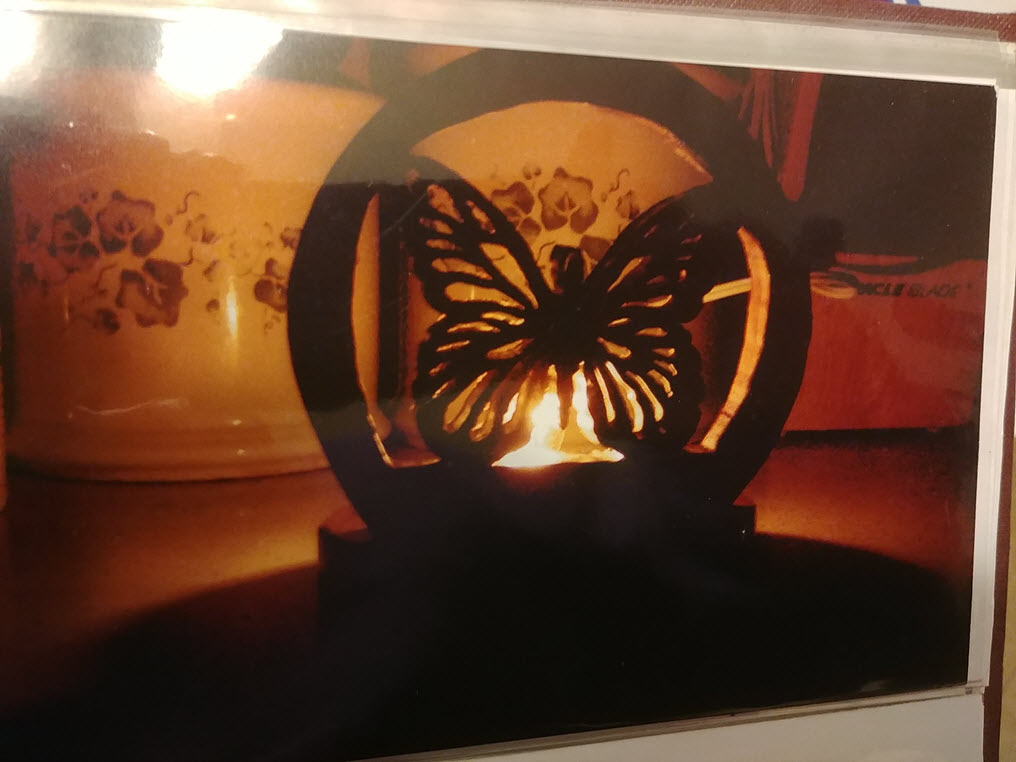
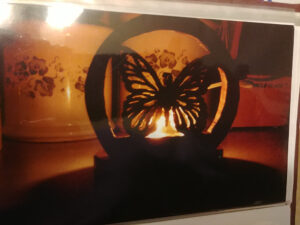
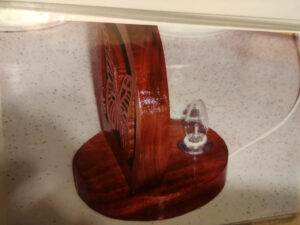
In my gallery, there are a few pictures of tea light stands. The patterns of the Three Crosses, the two Doves, and The Hummingbird are not my own. The butterfly, however, is. I traced a picture out of a picture book, but the electric cord was my idea. Here is the story of how that happened
I had started carrying a small photo album in the car with me to show anyone interested in seeing them. I showed a friend some of the pictures of the scrolled items I had made. I had been scrolling for about a year.
He enjoyed the pieces and remarked how incredibly detailed a scroll saw could get. When he turned the next page, he saw a grouping of my tea light stands. He stopped and looked up at me and said, “You can scroll candle holders?” My answer was that yes, as long as it is that style base as the tea light holder. His following words made me a bit nervous. He asked if I could make it electric. He then explained that his mother was in a convalescent home and could not have any type of flame burning in the room.
I asked if he could give me a couple of weeks to research it. He said no problem and then asked if I had a butterfly pattern. I said, “not at the moment, but I’m sure I can come up with something.”
I went home and researched everywhere I could think of to find a scrolled electric wooden stand pattern. I found nothing, and as I was about to give up, I noticed a cord with a 4-watt bulb at the end of it on one of the websites. Talk about light bulbs; the one in my head finally clicked on! I went downstairs to my workshop and measured the hole for the tea-light cup and found that it was close enough to the size of the end of the light bulb cord. I could always add some kind of decorative metal grommet to the edge if I needed to.
Finding a pattern to adjust to scroll sawing took a minute or two to find, and I had my design. I am not sure who was more surprised, my friend or myself, that I had the whole project done in about a week.
A pleasant surprise for me was that in the not-so-distant future, I would be building another one of these for my very own granddaughter!
Getting Creative with the Grain
Categories: Woodworking
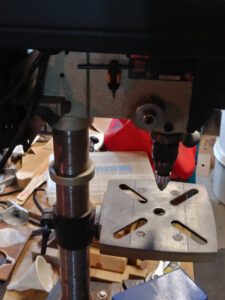
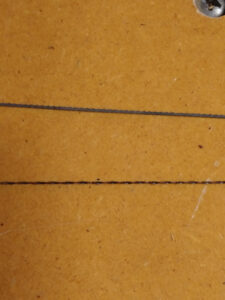
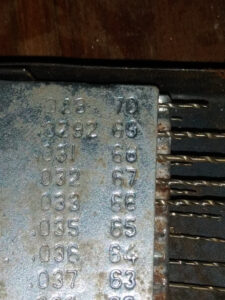

3D Scrolling
Categories: Woodworking
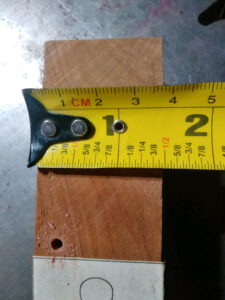
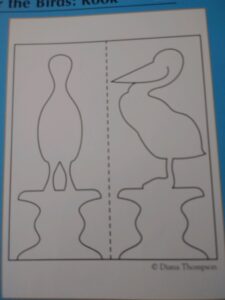
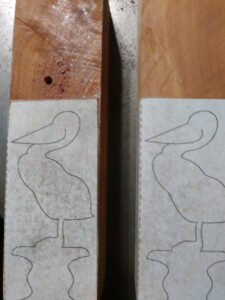
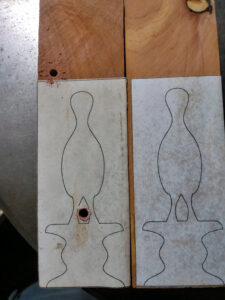
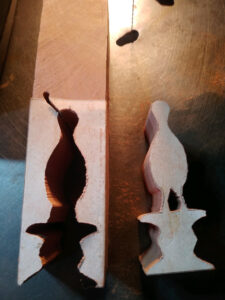
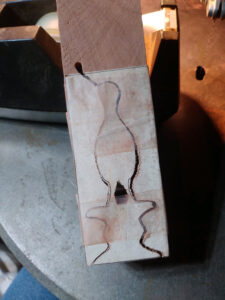
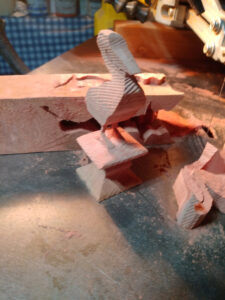
The next step is the secret to 3D scroll sawing. After brushing away all the sawdust from the piece, pick it up and place it back inside the hole. Then take several long pieces of scotch tape and tape them around the entire circumference of the wood. This will help hold the loose piece in place as you turn the work to the next uncut side.
