3D Scrolling
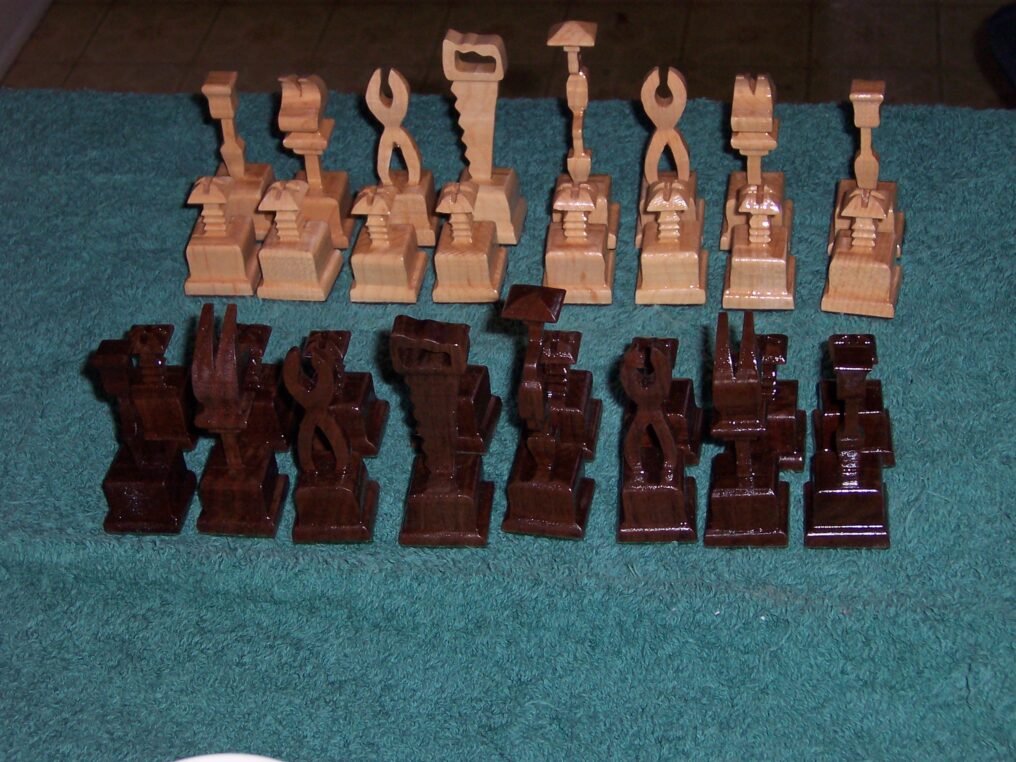
I have had many compliments over the years from people who have seen the 3D scrolled Chess set pictures. The wood I used for the two sides was cherry, light-colored wood. And walnut for the dark-colored wood.
Most of those compliments were also surprised when the people found that I did not carve the wood. This set was scrolled with my scroll saw.
I thought it would be interesting to share how the 3D shape is obtained by way of sawing.
To use as an example, I took one of the other shapes in the; “Wooden Chess Sets You Can Make by Diana Thompson.” This was a book I had purchased years ago. I also took lots of pictures to help in describing how to use this unique way of cutting with a scroll saw.
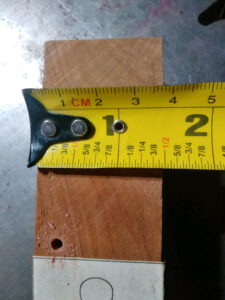
To start, I took a 1.5 x 1.5 x 6in piece of wood and glued the pattern on. As you can see, I have two wood components with the same design on each. This particular wood is Red Cedar. I love this wood for several reasons. One, as usual, is the grain. The other two reasons are that it is a softer hardwood to scroll and has a fabulous smell while cutting.
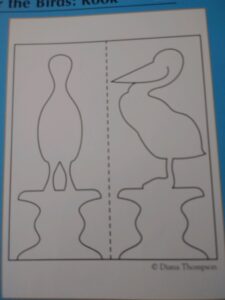
The following picture is the pattern to be glued to the wood. The dotted line in the center is to show that this piece of paper is to be glued as one piece to the wood. The center indicates the wood’s edge from one side to the next side.
I am only cutting one figure today. In the first of the following two pictures, each of two birds, you can see that the bird on the left has a drill hole in the wood and the one on the right does not. The second picture is actually the same bird, only now, instead of the side profile of the pelican bird, you can see the bird’s backside. Notice that the piece on the left now has two drill holes, one through the center of his legs and the other is in what I call waste material of the wood.
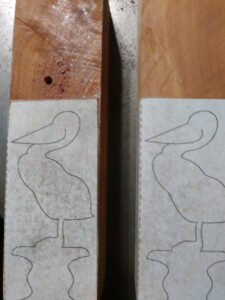
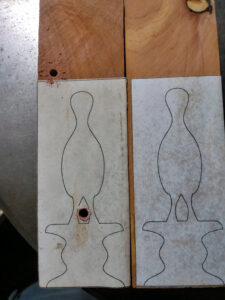
In the world of scroll sawing, it is advised to cut the entire inside cuts before cutting the outside perimeter of your scroll saw project.
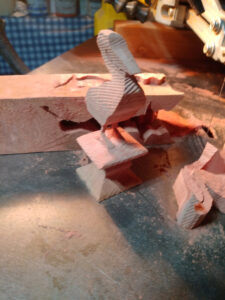
Now, of course, the first thing that happens when you cut a piece of wood is that it disconnects from the original block of wood. In this picture, you can see that the hole between the legs is cut. Plus, now the whole perimeter of the bird as well.
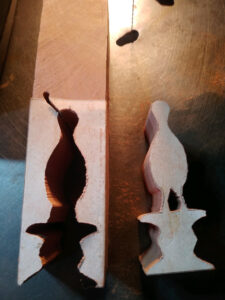
The next step is the secret to 3D scroll sawing. After brushing away all the sawdust from the piece, pick it up and place it back inside the hole. Then take several long pieces of scotch tape and tape them around the entire circumference of the wood. This will help hold the loose piece in place as you turn the work to the next uncut side.
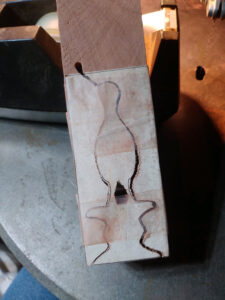
Once the second side is cut, you can easily break away the outer four sides. The first time I used this technique, I was totally amazed at what was waiting for me inside!
